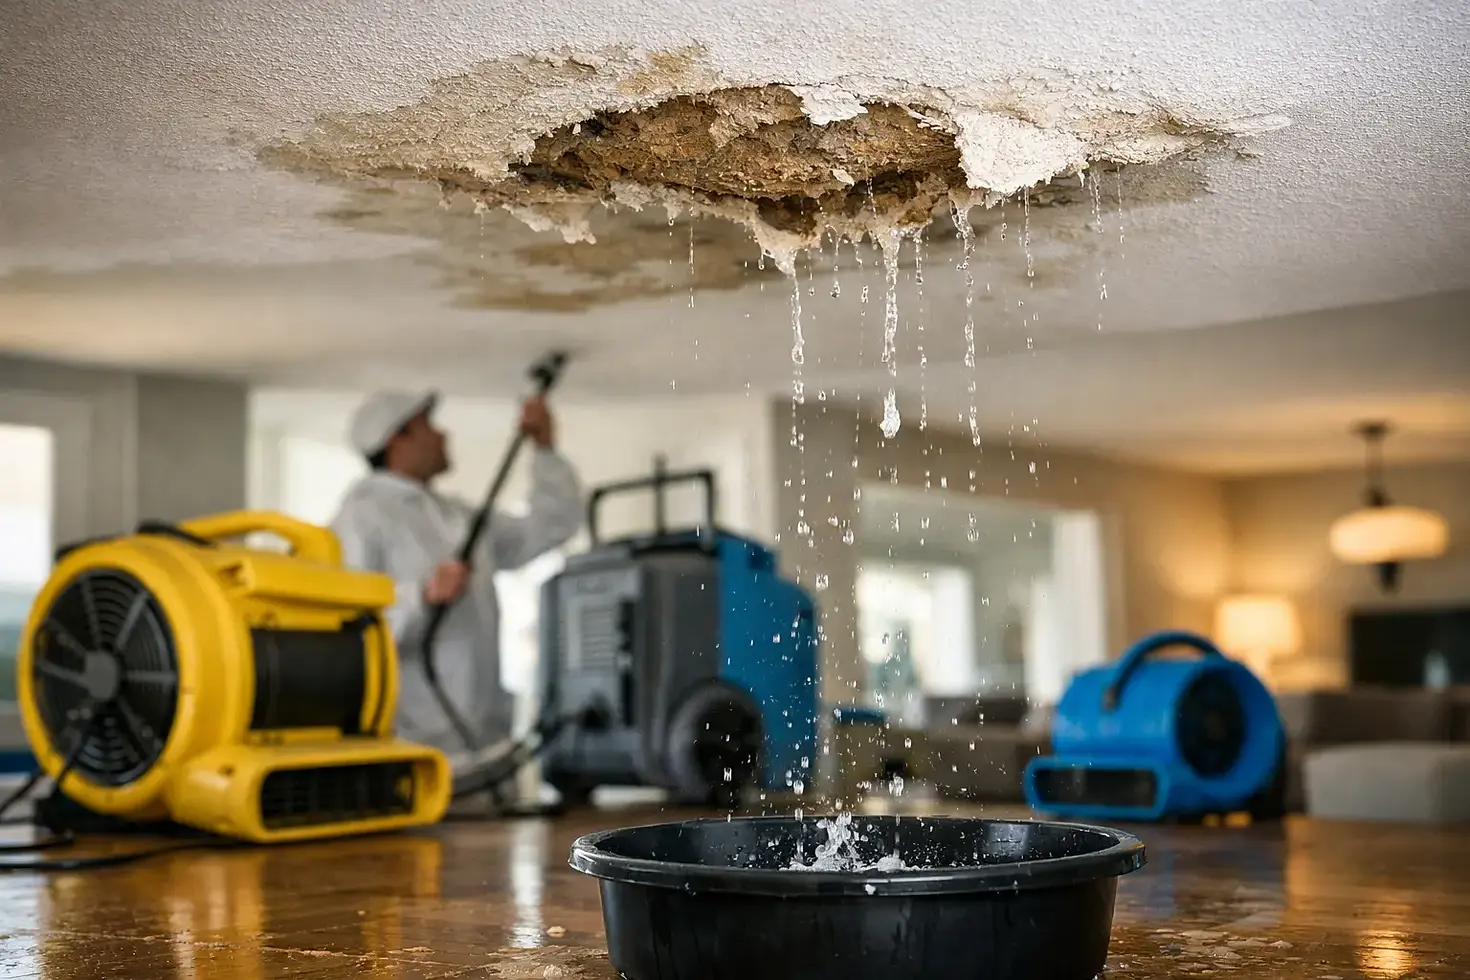
Ceiling Leak Drying Process After Water Damage
A ceiling stain can look small while water is still spreading above it. The ceiling leak drying process should begin as soon as the water source is controlled, because wet insulation, framing, drywall, and flooring can hold moisture long after visible dripping stops. Fast, measured drying helps protect the structure, reduce mold risk, and prevent a manageable leak from becoming a larger restoration project.
Start by Making the Area Safe
Water in a ceiling creates immediate safety concerns. If water is near light fixtures, ceiling fans, outlets, or electrical panels, avoid touching switches and keep people out of the area. Shut off power to the affected circuit only if it can be done safely. If the ceiling is sagging, bubbling, or visibly bowed, stay clear. Saturated drywall can fail without much warning.
Place containers beneath active drips and move furniture, electronics, and valuables away from the area. If water has reached carpet or finished flooring, protect those materials as well. A ceiling leak often travels along framing or pipes before it appears, so the wet area below may be larger than the stain suggests.
The first priority is stopping the source. That may mean shutting off the water supply for a plumbing leak, arranging roof repair after a storm, or addressing a failed appliance, HVAC line, or upper-floor overflow. Drying without fixing the source only delays the damage.
Why Surface Drying Is Not Enough
A towel, fan, or open window can dry the outside of a ceiling, but it cannot confirm whether the ceiling assembly is dry. Water can collect in insulation, soak the back of drywall, wick into wall cavities, and settle on wood framing. These hidden areas are where odors, material breakdown, and mold growth can begin.
Drywall is especially vulnerable. Once it becomes saturated, it can lose strength, swell, crumble, or separate from fasteners. Insulation may compress and lose performance when wet. Wood framing can often be dried successfully if moisture is addressed promptly, but it must be monitored rather than assumed dry.
Professional drying focuses on moisture content, not appearance. The goal is to return affected materials to an acceptable dry standard and verify that they are drying as expected. That distinction matters when deciding whether materials can be saved or need to be removed.
The Ceiling Leak Drying Process, Step by Step
1. Inspect the full extent of the loss
A proper inspection starts with the source and follows the path of water. Moisture meters, thermal imaging, and visual assessment can help identify wet materials beyond the obvious stain. The affected room, the space above the ceiling, nearby walls, and flooring below should all be evaluated.
This is also the point where the type of water matters. Clean water from a supply line is handled differently from water affected by sewage, a toilet overflow, floodwater, or a contaminated drain backup. Contaminated water may require removal and disposal of porous materials instead of drying them in place.
2. Remove standing water and protect contents
If active water is present, extraction comes before drying. Water may need to be removed from floors, carpet, contents, or the cavity above a dropped ceiling. Wet contents should be moved, elevated, or documented before further damage occurs.
For a localized ceiling leak, controlled openings may be necessary. A small opening can release trapped water, reduce the chance of a ceiling collapse, and give technicians access to inspect the cavity. This can feel counterintuitive, but a planned opening is often less damaging than allowing water to remain trapped overhead.
3. Decide what can be dried and what must be removed
Not every wet material needs replacement. A recently wet, structurally sound ceiling assembly may dry successfully with the right equipment and monitoring. However, severely saturated drywall, wet cellulose insulation, damaged ceiling tiles, or materials affected by contaminated water may need to be removed.
The decision depends on the water category, how long materials were wet, the level of saturation, and whether drying can be verified. Trying to save every material can increase the risk of hidden moisture and future mold. Removing too much can add unnecessary cost. The right approach is based on conditions, not guesswork.
4. Set up controlled structural drying
After extraction and any necessary removal, drying equipment is positioned to create the right conditions. Air movers circulate air across wet surfaces. Dehumidifiers remove moisture from the air so materials can continue releasing water. In some situations, containment is used to focus drying energy on the affected area and prevent humid air from moving through the property.
Technicians may use specialized cavity-drying methods when moisture is trapped above a ceiling or inside a wall. The equipment plan changes based on the materials involved, room size, weather conditions, and the amount of water absorbed. More equipment is not automatically better. Correct placement and regular adjustment are what make drying effective.
Expect equipment to run continuously while the area is being dried. It can be noisy and may produce warmth, but shutting it off at night or moving it without direction can slow the process and allow moisture to remain in place.
5. Monitor moisture until dry goals are reached
Drying is not a one-time setup. Conditions should be checked regularly using moisture readings and humidity measurements. Readings are compared with unaffected materials in the property whenever possible. This helps establish a realistic dry target for the specific building.
As materials dry, equipment may be repositioned or reduced. If readings stop improving, the drying plan may need to change. Hidden insulation, blocked airflow, a continuing leak, or an overlooked wet area can all prevent progress.
Documentation is valuable throughout this stage. Records of moisture readings, equipment use, photos, and removed materials can help support an insurance claim and provide a clear account of the work completed.
How Long Does a Ceiling Take to Dry?
Many properly managed water losses dry in three to five days, but there is no safe one-size-fits-all timeline. A small clean-water leak caught quickly may dry faster. A ceiling with saturated insulation, multiple layers, dense building materials, high indoor humidity, or water that has traveled into walls can take longer.
Roof leaks can also be more complicated because the source may recur during the next rainfall. Plumbing leaks may continue unnoticed behind a wall or above a ceiling. Drying equipment should remain in place until measured conditions show that affected materials have reached their drying goals, not simply until the stain looks lighter.
What Property Owners Can Do While Drying Is Underway
Keep the area clear and maintain normal indoor temperature unless instructed otherwise. Avoid painting, patching, reinstalling insulation, or closing openings before moisture testing confirms the area is dry. Covering damp materials can trap moisture and conceal a problem that will surface later.
Take clear photos of the leak, damaged items, stained surfaces, and any temporary protective measures. Keep receipts for emergency expenses and avoid discarding damaged materials until your insurer or restoration provider has documented them, unless they create an immediate safety or sanitation issue.
If you notice a musty odor, new staining, soft drywall, peeling paint, or moisture returning after equipment is removed, act quickly. Those signs can indicate that the source was not fully resolved or that hidden materials remain wet.
When to Call a Water Damage Professional
Professional help is especially appropriate when water has entered a ceiling cavity, affected electrical fixtures, soaked insulation, reached more than one room, or sat for longer than a day. It is also the safer choice for contaminated water, visible mold, a sagging ceiling, or commercial properties where downtime and documentation matter.
Drytek Solutions Inc. provides emergency assessment, water extraction, structural drying, contaminated material removal, and insurer-aligned documentation to help property owners move from active damage to a verified recovery plan. A fast inspection can clarify what is wet, what can be saved, and what needs immediate attention.
A ceiling leak does not need to turn into a long-term property problem. Once the source is stopped, measured drying and clear documentation give you the best chance of protecting the building, the people inside it, and the next steps in your claim.


Comments