7 Steps in the Insurance Adjuster Water Damage Process
Water does not wait for office hours. A supply-line leak behind a wall, a failed appliance hose, or a storm-related roof leak can keep spreading through flooring, insulation, and framing long after the visible puddle is gone. The insurance adjuster water damage process helps determine what your policy may cover, but protecting the property has to start immediately.
For homeowners, property managers, and business owners, the goal is simple: stop the loss, document what happened, prevent additional damage, and give the insurer a clear picture of the work required. Knowing the sequence can reduce delays and help you make informed decisions under pressure.
1. Stop the source and make the area safe
First, stop water from entering the building if it is safe to do so. Shut off the main water supply for a plumbing failure, turn off the appliance feeding the leak, or place temporary protection over an opening caused by weather. If water is near electrical outlets, panels, or equipment, stay out of the affected area and contact a qualified professional.
Safety comes before cleanup. Contaminated water from a sewer backup, toilet overflow, groundwater intrusion, or flood event can carry bacteria and other hazards. Keep people and pets away, do not use household vacuums on standing water, and avoid moving porous materials that may be contaminated until the loss has been assessed.
Then notify your insurance carrier as soon as practical. Ask for a claim number, record the name of the representative, and confirm how the carrier wants estimates, photos, and invoices submitted. This starts the claim, but it should not prevent reasonable emergency work needed to keep damage from getting worse.
2. Document the loss before major cleanup begins
Take clear photos and video of the affected rooms, visible water, source area, damaged contents, and the path the water traveled. Capture wider shots that establish the room and closer images that show staining, warped materials, damaged trim, or personal property. If possible, photograph model numbers and serial numbers for affected appliances or equipment.
Write down when you first noticed the issue, what you believe caused it, and the steps taken to stop it. Keep receipts for emergency purchases and retain invoices for extraction, drying, temporary protection, and other mitigation services. These records help explain both the original damage and the actions taken to prevent secondary loss.
Do not throw away damaged materials simply because they look beyond repair. Your insurer may need photos, measurements, or an opportunity to inspect them. If wet carpet, drywall, insulation, or contents must be removed for health or drying reasons, a mitigation contractor can document the condition before disposal.
3. Begin emergency mitigation without waiting for the adjuster
A common concern is whether you should wait for an adjuster before calling a water mitigation company. In most water losses, waiting can create a larger problem. Water can migrate below flooring, wick up drywall, saturate insulation, and create conditions that support mold growth in a short period of time.
Your policy may require you to take reasonable steps to protect the property from further damage. Emergency extraction, moisture inspection, controlled demolition of unsalvageable wet materials, and professional drying are often part of that duty. The key is using a qualified provider that thoroughly documents the conditions, equipment, labor, moisture readings, and materials affected.
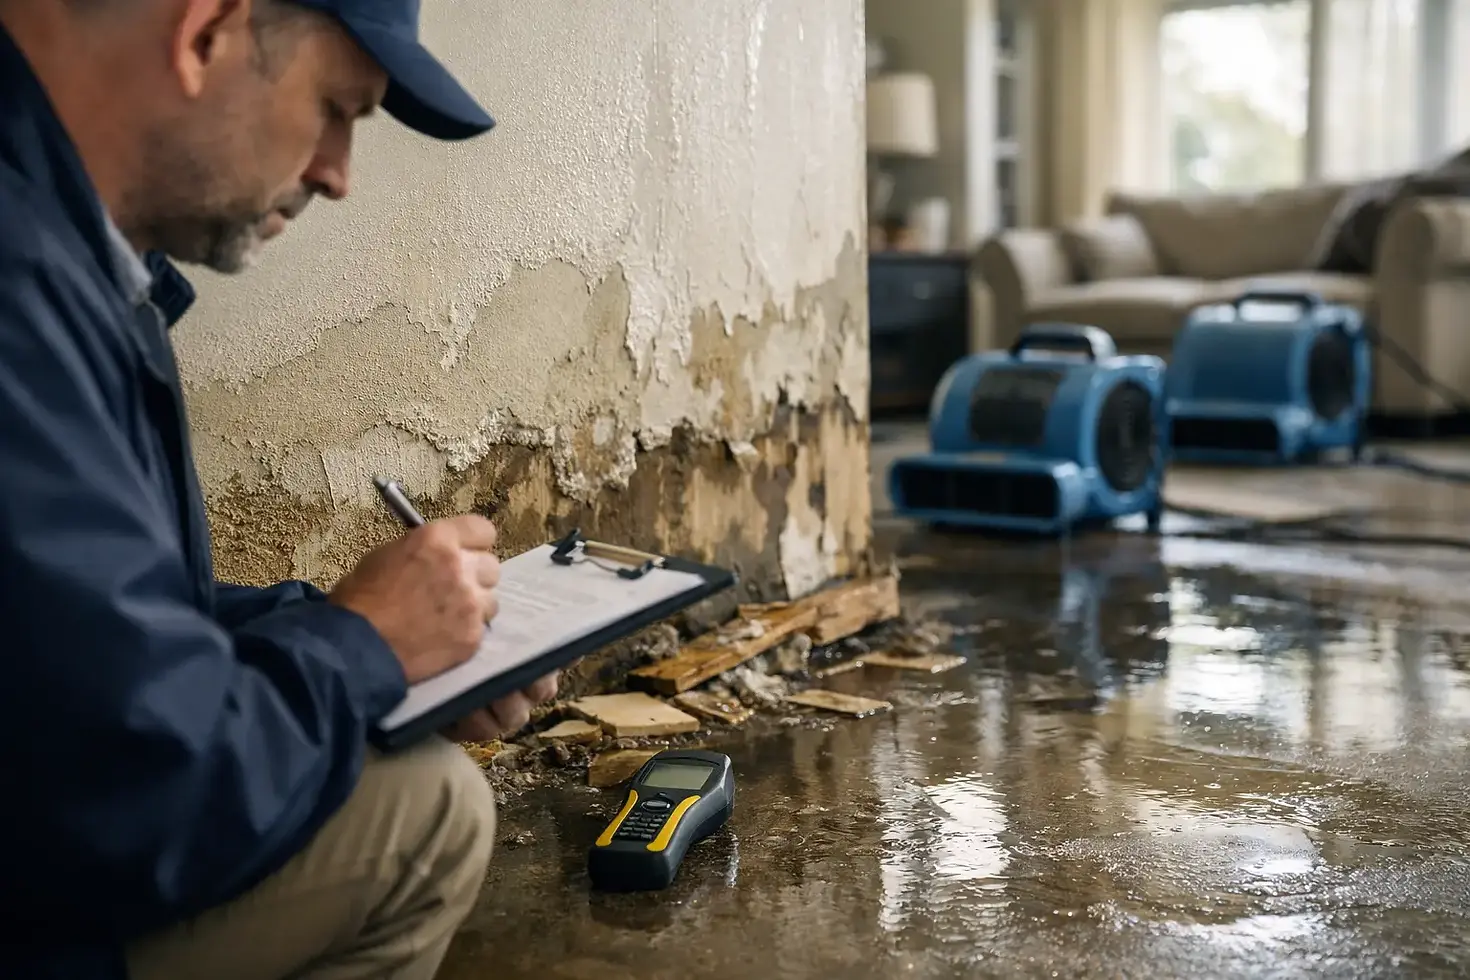
A professional mitigation team should identify the water source and category, map moisture migration, remove standing water, and set drying equipment based on the structure and materials involved. Drying is not just placing fans in a room. It involves monitoring humidity, material moisture content, airflow, and drying progress so hidden moisture is not left behind.
4. What happens during the adjuster's inspection
The adjuster is assigned by the insurance company to investigate the reported loss and evaluate coverage under the policy. During the inspection, they may review the source of water, inspect visible damage, take photographs and measurements, and ask questions about the timeline, maintenance history, repairs, and mitigation already performed.
Be factual and specific. Share photos, invoices, a contents list, and any reports from a plumber, roofer, or restoration provider. If the source was repaired, provide the invoice or report explaining the cause. A failed pipe fitting, an overflowing dishwasher, and long-term seepage can be treated very differently under an insurance policy, so the cause matters.
The adjuster may inspect the property while drying is in progress or after emergency services are complete. If wet drywall or flooring has already been removed, thorough pre-removal documentation helps the adjuster understand why the work was necessary and how far the damage extended.
5. How the insurance adjuster water damage process determines scope
After the inspection, the adjuster reviews the policy language, cause of loss, and documentation to determine whether coverage applies. They may prepare an estimate for covered building repairs, request additional information, or send specialists to evaluate particular issues. Coverage can depend on the type of water, the reason it entered the building, policy endorsements, deductibles, limits, and exclusions.
For example, sudden damage from a burst supply line may be handled differently than water entering through an unmaintained roof or a sewer backup without the appropriate endorsement. Mold-related work may also have separate limits or conditions. The adjuster evaluates the claim, but the policy controls the final coverage decision.
There can be a gap between the emergency mitigation scope and the reconstruction estimate. Mitigation focuses on stopping damage and drying the structure. Reconstruction addresses putting the property back together, such as replacing drywall, flooring, cabinets, trim, paint, or affected business finishes. These are related phases, but they are not the same job.
6. Review estimates and ask direct questions
When you receive an estimate or settlement information, review it carefully before authorizing permanent repairs. Compare it with the documented damage and the scope proposed by your restoration or rebuilding contractor. Pay attention to room measurements, affected materials, demolition, drying, cleaning, contents handling, and the level of finish included for repairs.
If something appears missing, ask for clarification in writing. It may be an oversight, a line item that requires further documentation, or a coverage issue. Useful questions include whether the estimate includes all affected rooms, whether drying and demolition costs are addressed separately, and what documentation is still needed to consider supplemental damage.
Do not assume the first estimate is always the final word. Once materials are opened during repair, concealed water damage may be found. A contractor should photograph the condition, explain why the additional work is necessary, and submit the information through the proper claims process before moving forward when possible.
7. Move from drying to repairs with a clear plan
Do not begin rebuilding until affected materials are dry to acceptable targets and any necessary contamination work is complete. Covering damp framing or subflooring with new finishes can trap moisture and create future problems that are harder to detect and more expensive to correct.
A coordinated recovery plan should establish what has been dried, what must be removed, what can be restored, and what repairs remain. For a commercial property, it should also consider business continuity, access restrictions, equipment protection, and safe reopening. For a residence, it should account for temporary living arrangements, contents storage, and the order in which rooms can return to use.
Drytek Solutions supports this process with documented extraction, structural drying, contaminated-material removal, and insurance-focused reporting. Clear records help reduce confusion between the emergency response phase and the work required to restore the property.
If you disagree with the scope or coverage decision
Stay organized and keep communication professional. Request a written explanation of the decision, identify the specific items you believe need review, and provide supporting photos, reports, invoices, moisture records, and contractor estimates. A detailed, evidence-based request is more useful than a general statement that the estimate feels too low.
If the disagreement involves policy interpretation or a significant amount of money, consider speaking with your insurer's claims supervisor and reviewing the dispute options available under your policy. Depending on the situation, that may include appraisal, mediation, or advice from a qualified insurance professional or attorney. Restoration contractors can document physical conditions and necessary work, but they should not represent themselves as legal or insurance coverage advisors.
The most useful thing you can do after water damage is act early, keep records, and make sure the building is truly dry before repairs close it back up. A calm, documented response gives your claim the best foundation and helps protect the property you are working to restore.


Comments